
Contents
Many people underestimate the complexity of successful remediation after water damage, often believing it’s just about drying things out. However, effective recovery involves a series of critical steps that ensure long-term safety and structural integrity. From evaluating the damage to preventing mold growth, each phase plays an essential role. Understanding these processes is crucial for achieving a thorough restoration. What’s the first step you should take when faced with such a situation?
Key Takeaways
- Conduct a thorough assessment to identify the water source and evaluate damage severity before proceeding with remediation.
- Extract standing water promptly using high-capacity pumps and vacuums to prevent further damage.
- Implement thorough drying methods, including industrial-grade dehumidifiers and fans, to eliminate moisture.
- Inspect for mold growth in hidden areas and take preventive measures to control humidity levels.
- Complete structural repairs and conduct a final inspection to ensure compliance with safety standards and effectiveness of remediation.
Assessing the Extent of Water Damage
Evaluating the extent of water damage is essential for effective remediation.
Begin with water source identification, as pinpointing the origin of the leak or flooding provides critical insights for your assessment. Common sources include burst pipes, roof leaks, or groundwater intrusion.
Once identified, employ damage assessment techniques such as visual inspections and moisture mapping.
Use moisture meters to detect hidden dampness in walls and floors, ensuring you capture areas that may not be immediately visible.
Document your findings meticulously, noting the severity and affected materials, which will guide your remediation strategy.
Additionally, consider the duration of exposure; the longer materials remain wet, the higher the risk of structural damage and mold growth.
Ensuring Safety and Health Precautions
As you begin remediation after water damage, evaluating the structural integrity of your space is essential to ensure safety.
Protecting your personal health is equally important, so make certain to use appropriate safety gear and equipment throughout the process.
Assessing Structural Integrity
When faced with water damage, it’s crucial to prioritize evaluating the structural integrity of your property to ensure safety and health precautions are met.
Conducting thorough structural evaluations and integrity testing ensures that your environment remains secure. Follow these steps:
Inspect load-bearing walls for signs of buckling or cracking.
Examine the foundation for water seepage or erosion that could compromise stability.
Check beams and joists for warping or deterioration due to prolonged exposure to moisture.
Assess roofing and ceilings for sagging, which may indicate water damage and risk of collapse.
Protecting Personal Health
Following a thorough assessment of structural integrity, the next step focuses on protecting personal health in the aftermath of water damage.
It’s essential to recognize various health risks, such as mold growth and contaminated water exposure. Start by ensuring adequate ventilation to minimize moisture buildup.
Utilize dehumidifiers to maintain ideal humidity levels, and consider sealing off affected areas to prevent spores from spreading.
Always wear protective gear, including masks and gloves, when entering contaminated spaces.
Additionally, regularly assess your environment for any signs of mold or lingering dampness.
Implementing these preventive measures safeguards your health and well-being, fostering a safe space for you and your loved ones as you navigate the recovery process together.
Using Proper Equipment
Using proper equipment is essential for ensuring safety and health precautions during the remediation process after water damage.
Utilizing the right tools protects you and enhances the effectiveness of your efforts. Here’s what you need:
Water Extraction Equipment: Invest in high-capacity pumps and vacuums to remove standing water efficiently.
Drying Equipment: Use industrial-grade dehumidifiers and fans to expedite the drying process, preventing mold growth.
Personal Protective Gear: Always wear gloves, masks, and protective eyewear to shield yourself from contaminants.
Moisture Meters: Utilize these devices to monitor humidity levels and ensure thorough drying.
Removing Standing Water and Moisture
Removing standing water and moisture is essential in the aftermath of water damage, as even small amounts can lead to significant structural issues and mold growth. Begin with water extraction using pumps and wet vacuums to eliminate standing water efficiently. Follow this up with moisture control methods to address remaining dampness in the affected areas.
Here’s a quick reference table for your water removal process:
| Step | Equipment Needed | Purpose |
|---|---|---|
| Assess Water Level | Moisture Meter | Determine severity of damage |
| Extract Water | Pump/Wet Vacuum | Remove standing water |
| Inspect for Moisture | Infrared Camera | Identify hidden moisture |
| Dry Affected Areas | Air Mover/Dehumidifier | Promote evaporation |
| Final Check | Hygrometer | Ensure moisture is at safe levels |
Follow these steps carefully to ensure a thorough remediation process and protect your home from further damage.
Drying and Dehumidifying Affected Areas
Once standing water has been effectively extracted, the focus shifts to drying and dehumidifying the affected areas to prevent further damage and mold growth.
Proper dehumidifier selection and effective drying techniques are essential at this stage. Here’s a concise guide to ensure thorough drying:
Assess Humidity Levels: Use a hygrometer to gauge the moisture in the air.
Choose Dehumidifiers: Select units based on the size of the area and the extent of water damage.
Utilize Air Movers: Position fans strategically to enhance airflow and expedite drying.
Monitor Progress: Regularly check moisture levels to determine when the area is adequately dried.
Inspecting for Mold Growth and Contamination
After drying and dehumidifying the affected areas, it’s essential to conduct a thorough visual mold inspection.
You’ll need to identify any contaminated materials, as they can harbor mold spores and contribute to health risks.
Employing systematic inspection techniques will help ensure that no hidden mold growth escapes your attention.
Visual Mold Inspection Techniques
When conducting a visual mold inspection, it’s crucial to understand that mold can thrive in hidden areas, often making its presence known only through subtle signs of water damage or discoloration.
To effectively use mold identification techniques, follow these visual inspection methods:
Examine high-humidity areas: Check bathrooms, kitchens, and basements, as these are common spots for mold growth.
Look for water stains: Discolored patches on walls or ceilings can indicate previous water damage and potential mold.
Inspect HVAC systems: Mold can grow in ducts and filters, so inspect these areas carefully.
Check for musty odors: Unpleasant smells often signal hidden mold, even if it’s not visibly apparent.
Identifying Contaminated Materials
How can you effectively identify contaminated materials during a mold inspection?
Begin by thoroughly examining all potentially contaminated surfaces, including walls, ceilings, and flooring. Look for visible mold growth, discoloration, or water stains, as these often indicate underlying issues.
Next, consider conducting material testing on suspicious areas. This can involve taking samples of drywall, wood, or insulation for laboratory analysis, which helps confirm the presence of mold spores and other contaminants.
Don’t forget to assess hidden spaces, like behind appliances or in crawl spaces, where moisture can accumulate unnoticed.
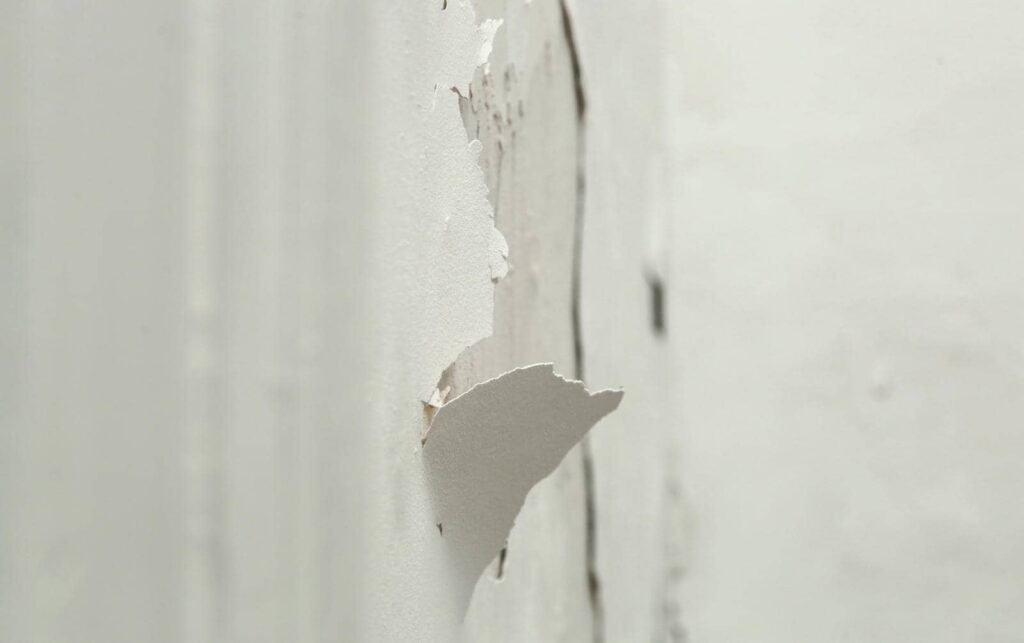
Restoring and Repairing Damaged Structures
Although restoring and repairing damaged structures can seem intimidating, a systematic approach makes the process manageable and efficient.
To ensure your restoration project is successful, follow these essential steps:
Assess the Damage: Conduct a thorough evaluation of the affected areas to identify the extent of water damage and necessary structural repairs.
Remove Contaminants: Safely eliminate any mold, mildew, or damaged materials that could compromise the integrity of the structure.
Apply Restoration Techniques: Utilize appropriate techniques such as drying, dehumidifying, and sanitizing to restore the affected areas to their pre-damage condition.
Rebuild and Repair: Implement structural repairs, ensuring you reinforce weakened elements and adhere to building codes for safety.
Frequently Asked Questions
How Long Does the Remediation Process Typically Take?
The remediation timeline varies, typically lasting from a few days to weeks. Effective drying techniques play a vital role in minimizing damage and expediting the process, ensuring your space returns to normal as quickly as possible.
Can I Handle Water Damage Remediation Myself?
When it comes to DIY remediation, you might think you’ve got it covered, but remember to prioritize safety precautions. If you’re unsure, enlisting professionals can prevent further damage and ensure a thorough job.
What Insurance Coverage Is Available for Water Damage?
Your insurance options for water damage typically include flood insurance and liability coverage. Flood insurance protects against specific water-related incidents, while liability coverage may help with damages caused by your property to others.
How Can I Prevent Future Water Damage?
How often do you check for leaks? Employ waterproofing techniques and commit to regular maintenance to fortify your home against future water damage. Staying proactive protects your property and fosters a sense of community stability.
What Are the Signs of Hidden Water Damage?
You’ll notice signs of hidden water damage through mold growth, unusual odors, and warped surfaces. These issues can compromise your home’s structural integrity, so addressing them promptly is essential for maintaining a safe living environment.
Recap
In the aftermath of water damage, your swift and diligent response is akin to a hero’s quest, restoring your space to its former glory. By methodically evaluating, removing moisture, and thoroughly drying, you safeguard your property and protect your health. Vigilance against mold is essential, as it can be a lurking villain in the shadows. Completing repairs with precision ensures compliance and fortifies your home against future perils, ultimately leading to a triumphant return to normalcy.
Recent Posts
Why Use Advanced Drying Techniques for Water Damage?
Did you know that water damage can lead to considerable structural issues within just 24
Advanced Techniques for Effective Water Damage Drying
When water damage occurs, it’s often seen as a challenging situation rather than a catastrophe.
Top Advanced Drying Techniques for Water Damage
Like a skilled surgeon dissecting a complex case, you must approach water damage with precision