
Contents
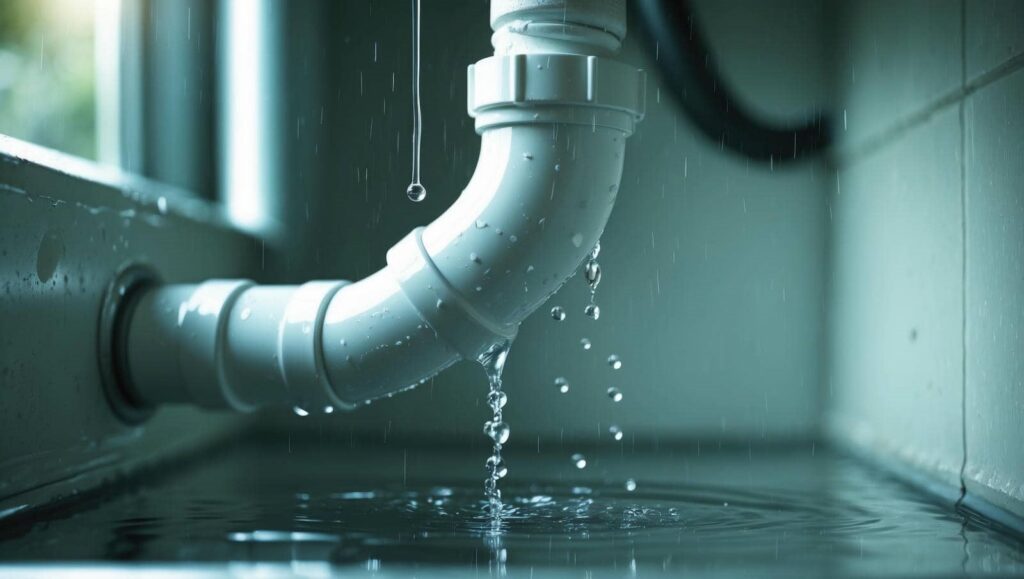
When you’ve got burst pipes, when water’s pooling, and when mold threatens, knowing emergency mold cleanup techniques is essential. You’ll need to act fast to minimize damage and health risks. Start by securing your water supply and evaluating the situation. From there, the right tools and methods can make all the difference. Understanding the steps to take next is important for effective mold removal and prevention. What should you do first?
Key Takeaways
- Immediately shut off the water supply to prevent further damage and mold growth.
- Use a wet/dry vacuum to extract standing water and reduce moisture levels.
- Assess and document damage for insurance claims, including photos of affected areas.
- Disinfect surfaces with suitable mold removal solutions and ensure thorough drying.
- Monitor for signs of mold growth post-cleanup and maintain humidity levels between 30-50%.
Immediate Actions to Take After a Burst Pipe
When a pipe bursts, your first move should be to shut off the water supply immediately. This is essential for effective emergency response.
Next, assess the affected area to determine the extent of the damage. Begin water extraction as quickly as possible to minimize moisture retention, which can lead to mold growth. Use a wet/dry vacuum or hire professionals if the water is extensive.
Guarantee proper ventilation by opening windows and using fans to circulate air. Document the damage for insurance purposes, taking photos if needed.
Finally, contact your insurance provider to report the incident. Taking these steps promptly will help safeguard your home and create a sense of community support as you navigate this challenging situation.
Gather Essential Tools for Mold Cleanup
Before you plunge into mold cleanup, gathering the right tools is essential to guarantee an effective and safe process.
Start with personal protective equipment like gloves, masks, and goggles to assure your safety. A moisture meter helps you assess damp areas, while a HEPA vacuum effectively captures mold spores. You’ll also need scrub brushes, sponges, and mold removal solutions tailored for different surfaces.
Incorporate mold prevention strategies by including dehumidifiers and fans to control moisture levels during cleanup.
Don’t forget a sturdy trash bag for disposing of contaminated materials. Following these cleanup safety tips won’t only protect you but also foster a healthier environment for everyone involved.
Being prepared can make all the difference in your mold remediation efforts.
Follow These Steps for Effective Mold Removal
To effectively remove mold, you need to start by identifying the affected areas within your space.
Next, contain the moisture to prevent further growth, and then proceed to disinfect and dry the surfaces.
Following these steps guarantees a thorough and efficient mold removal process.
Identify Affected Areas
Effective mold removal starts with identifying the affected areas in your home.
Begin with a thorough visual inspection of walls, ceilings, and floors, especially in areas near burst pipes. Look for discoloration, stains, or any unusual odors, as these can indicate mold growth.
Next, use moisture detection tools, such as a moisture meter, to pinpoint hidden damp spots. Pay close attention to basements, attics, and behind appliances, where moisture often accumulates unnoticed.
Document your findings to guarantee no areas are overlooked. By accurately identifying all affected regions, you lay the groundwork for effective mold removal, protecting your home and health.
Contain The Moisture
Once you’ve identified the affected areas, containing the moisture is crucial for effective mold removal.
Start by implementing moisture barriers to prevent further spread. Here are some steps to contemplate:
Seal off the area: Use plastic sheeting to isolate the affected space.
Use dehumidifiers: Set up units to reduce humidity levels rapidly.
Apply drying techniques: Utilize fans and heaters to enhance airflow and expedite drying.
Monitor moisture levels: Use a hygrometer to track progress and guarantee levels drop below 60%.
Disinfect And Dry
Disinfecting and drying the affected areas is essential for successful mold removal. Start by wearing protective gear to guarantee your safety.
Use a mixture of water and a suitable disinfectant, like bleach or a commercial mold remover, to disinfect surfaces. Focus on walls, floors, and any porous materials that may have absorbed moisture. After disinfecting, remove any remaining water using a wet/dry vacuum or absorbent materials.
Next, dry materials thoroughly. Use fans, dehumidifiers, or open windows to promote airflow and reduce humidity.
Verify all damp areas are dry within 24 to 48 hours to prevent mold regrowth. Consistently monitor the space for any signs of moisture or mold, ensuring a safe and healthy environment for everyone.
How Burst Pipes Cause Mold Growth
When a pipe bursts, rapid water accumulation creates an ideal environment for mold growth.
Increased humidity and temperature from standing water further accelerate this process.
If you delay cleanup, the consequences can lead to extensive damage and health risks.
Rapid Water Accumulation
As water rapidly accumulates due to burst pipes, the risk of mold growth escalates dramatically.
With water damage affecting your space, mold spores can thrive in this moist environment. It’s crucial to act quickly to prevent widespread contamination.
Consider the following:
Standing water can seep into walls and floors, creating a breeding ground for mold.
Wet materials, like carpets and furniture, become prime targets for mold spores.
Dark corners often remain unnoticed, allowing hidden mold to flourish.
Inadequate ventilation traps moisture, further promoting mold growth.
Humidity and Temperature Rise
Rapid water accumulation not only creates ideal conditions for mold but also greatly raises humidity levels and temperatures in affected areas.
When burst pipes release water, the resulting increase in moisture can lead to a considerable spike in humidity. This elevated humidity, combined with warm indoor temperatures, fosters an environment ripe for mold growth.
To combat this, effective humidity control is crucial. You should utilize dehumidifiers and guarantee proper ventilation to lower moisture levels.
Additionally, maintaining temperature regulation helps prevent the proliferation of mold. By addressing these factors promptly, you can greatly reduce the risk of mold establishing itself in your space, fostering a healthier environment for you and your family.
Delayed Cleanup Consequences
Although immediate action is essential, many homeowners underestimate the consequences of delaying cleanup after burst pipes. When water sits, mold risks escalate, leading to various health effects. The longer you wait, the more serious the situation becomes.
Consider the following:
Rapid mold proliferation: Mold can start growing within 24-48 hours.
Structural damage: Prolonged moisture weakens building materials.
Increased remediation costs: Delayed cleanup often leads to more extensive and expensive repairs.
Health complications: Exposure to mold can cause respiratory issues and allergies.
Acting swiftly not only preserves your home but also protects your health. Don’t let a minor plumbing issue turn into a major mold outbreak.
Prioritize immediate cleanup to mitigate risks.
Preventing Mold Recurrence After Cleanup
To prevent mold recurrence after cleanup, it’s essential to address the underlying moisture issues that created the problem in the first place.
Start by verifying proper humidity control in your space; maintaining levels between 30-50% can greatly reduce mold growth potential. Consider using dehumidifiers, especially in basements or other damp areas.
When repairing or renovating, opt for mold-resistant materials like drywall and paint, which can offer added protection.
Regularly inspect plumbing and roofing for leaks, and promptly fix any issues to avoid future water intrusion.
Additionally, guarantee adequate ventilation in areas prone to moisture, such as bathrooms and kitchens, to promote airflow and dryness.
When Should You Call in the Pros for Mold Removal?
Extensive coverage: Mold spreads quickly; if it covers more than 10 square feet, don’t hesitate.
Persistent musty odors: If the smell lingers despite cleaning, there may be hidden mold.
Water damage: After leaks or bursts, mold can develop rapidly, requiring expert attention.
Health symptoms: If you or your family experience respiratory issues, headaches, or allergies, it’s vital to act.
Professional removal guarantees safety and thoroughness, protecting your home and health.
Tips for Protecting Your Home From Future Water Damage
Protecting your home from future water damage requires proactive measures, especially in areas prone to moisture. Start by applying effective waterproofing methods, such as sealing cracks in your foundation and installing a sump pump.
Make certain gutters and downspouts direct water away from your home to minimize flooding risks. Regularly inspect your plumbing for leaks and address any issues immediately.
Additionally, consider investing in water detection systems that alert you to leaks early. Review your insurance coverage to make sure it includes protection against water damage; this can save you significant costs in the long run.
Frequently Asked Questions
Can Mold Grow in Walls After a Burst Pipe?
Yes, mold can grow in walls after a burst pipe. To prevent this, conduct regular wall inspections and address any moisture promptly. Quick action minimizes mold growth and protects your home’s integrity and your health.
How Long Does Mold Take to Appear After Water Exposure?
Mold can start appearing within 24 to 48 hours after water exposure, depending on water damage factors like temperature and humidity. Understanding the mold growth timeline helps you take timely action to prevent widespread issues.
Are DIY Mold Removal Methods Effective?
DIY mold removal methods can be effective if you use proper cleaning solutions and techniques. However, you must guarantee thoroughness, as incomplete removal may lead to regrowth. Always prioritize safety and protective gear during the process.
What Health Risks Are Associated With Mold Exposure?
Imagine you’re in a damp basement; mold exposure can trigger respiratory issues, skin irritation, and allergic reactions. Common mold symptoms include coughing and sneezing, leading to serious health effects if left untreated. Stay vigilant!
How Can I Tell if Mold Is Completely Removed?
To guarantee mold’s completely removed, use mold detection methods like air sampling and surface testing. Employ mold inspection tools, such as moisture meters and infrared cameras, to verify areas are dry and free from spores.
Wrap-Up
In the aftermath of burst pipes, swift action is your best defense against mold. By following the outlined techniques, you can markedly reduce damage and safeguard your health. Remember, mold thrives in damp environments like a wolf in sheep’s clothing. If the situation feels overwhelming, don’t hesitate to call in professionals. Taking preventive measures now can fortify your home against future water damage, ensuring a dry and healthy living space for you and your family.
Recent Posts
Top Mold Cleanup Techniques After Pipe Bursts
Did you know that nearly 50% of homes in the U.S. can harbor mold at
Effective Strategies for Sewage Overflow Cleanup
When faced with an unexpected plumbing challenge, it’s essential to approach sewage overflow cleanup with
Top 10 Tips for Storm Damage Mold Remediation
Storm damage can lead to hidden mold growth, posing serious health risks and structural issues.